// Fill out your copyright notice in the Description page of Project Settings.
#pragma once
#include "CoreMinimal.h"
#include "Kismet/BlueprintFunctionLibrary.h"
#include "ZFunctions.generated.h"
/**
*
*/
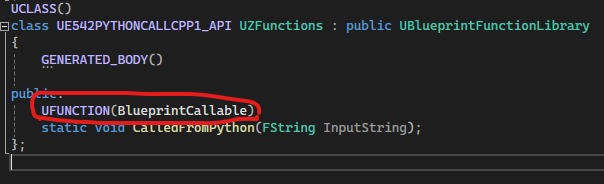
UCLASS()
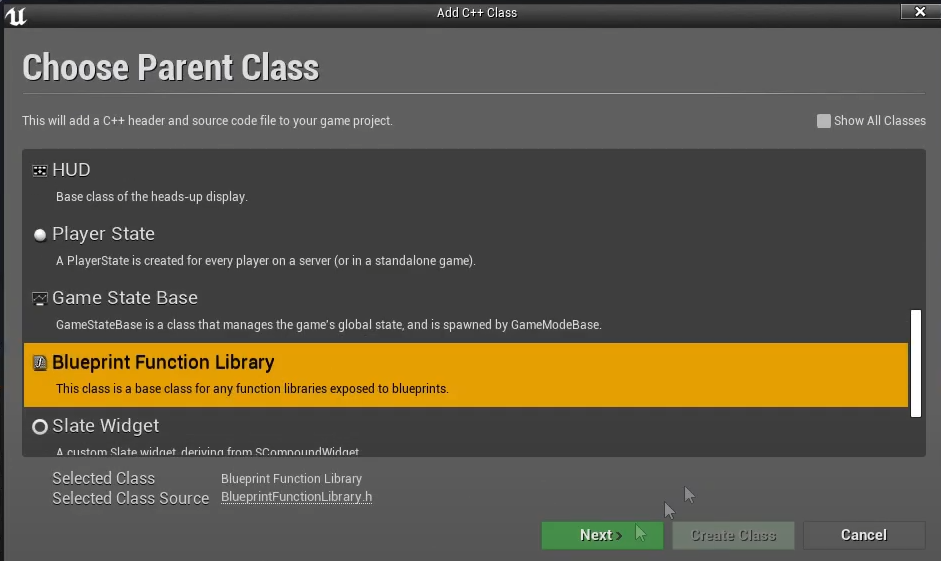
class UE542PYTHONCALLCPP1_API UZFunctions : public UBlueprintFunctionLibrary
{
GENERATED_BODY()
//ここから追加////////
public:
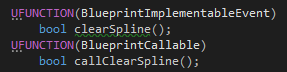
UFUNCTION(BlueprintCallable)
static void CalledFromPython(FString InputString);
//ここまで追加//////
};
ZFunctions.cpp
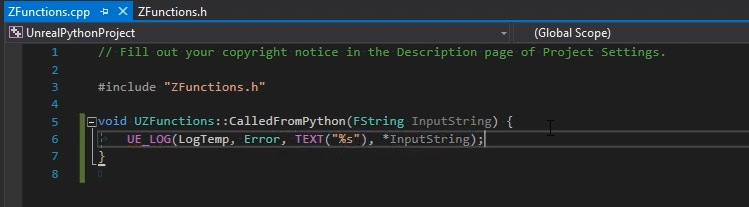
// Fill out your copyright notice in the Description page of Project Settings.


#include "ZFunctions.h"
//ここから追加////////
void UZFunctions::CalledFromPython(FString InputString) {
	UE_LOG(LogTemp, Error, TEXT("%s"), *InputString);
}
//ここまで追加//////
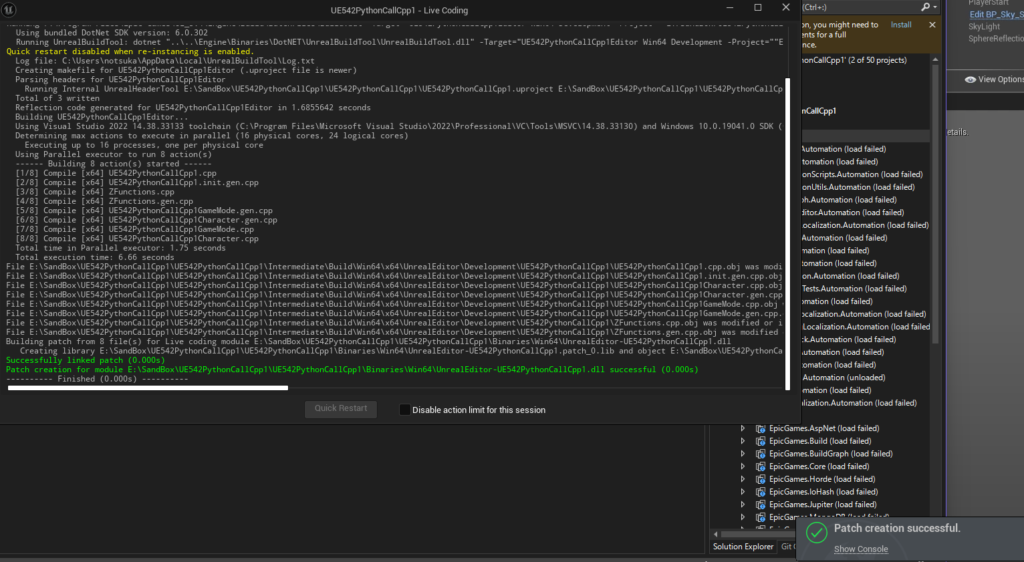
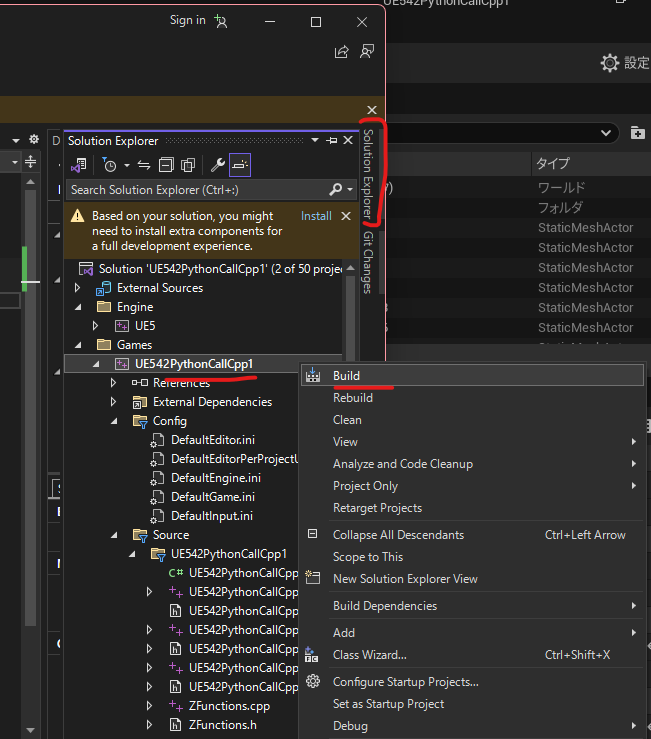
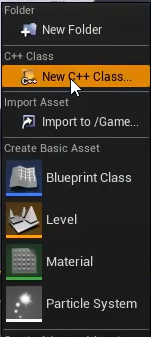
SolutionExplorer > your Project Name (right click)>Build
実行する。(Local Windows Debagger)
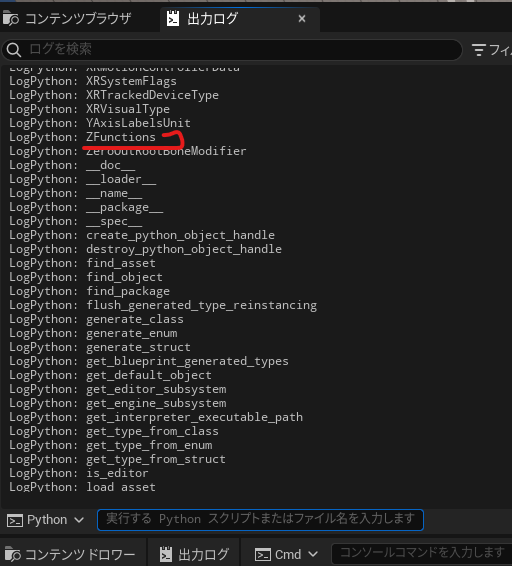
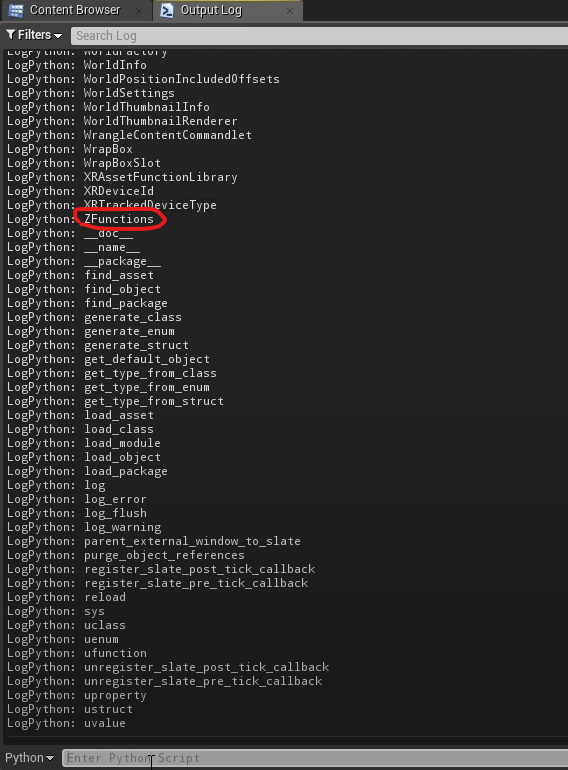
Outputlogで実行する unrealのクラス一覧
import unreal
for x in sorted(dir(unreal)):
   print(x)
めっちゃ重い
ZFunction が出る
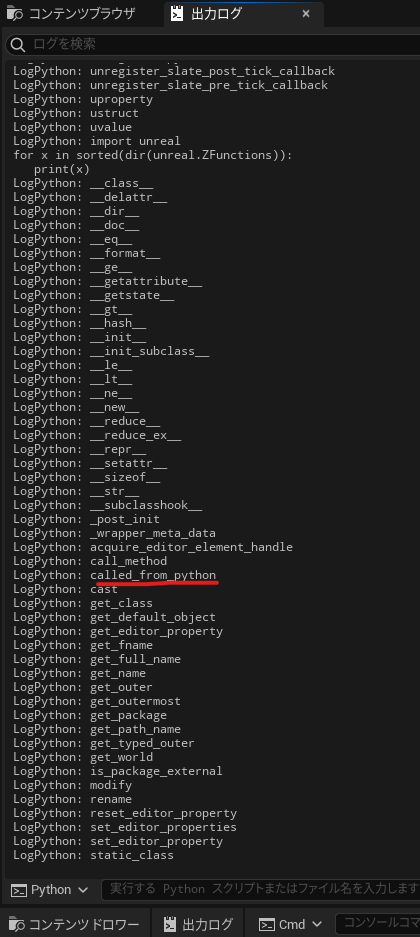
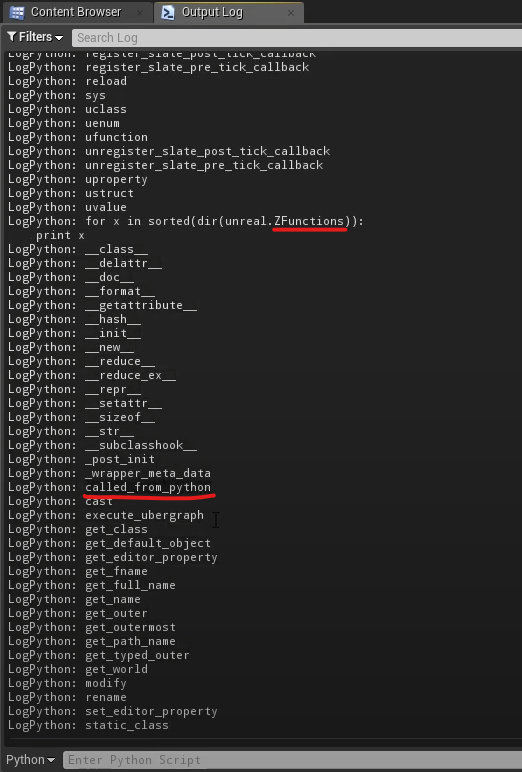
クラスを使ってみる unreal.ZFunctionsのメソッド一覧
import unreal
for x in sorted(dir(unreal.ZFunctions)):
   print(x)
called_from_python が出てくる。
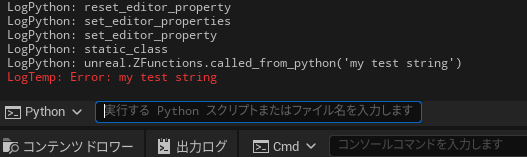
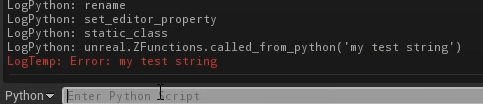
呼んでみる
unreal.ZFunctions.called_from_python('my test string')
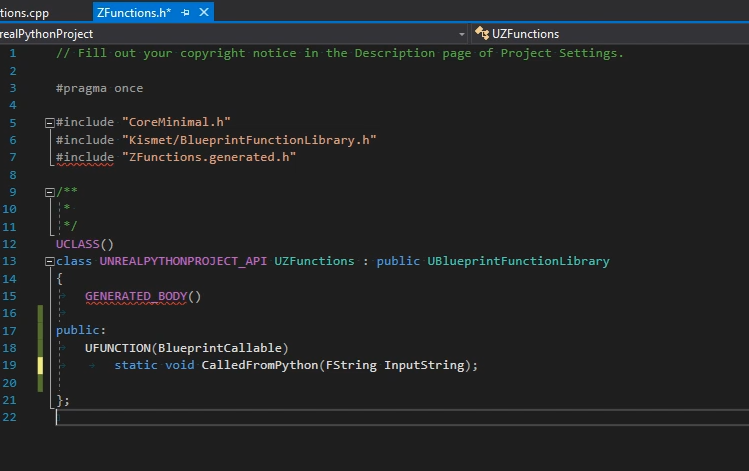
//.Fill out your copyright notice in the Description page of Project Settings.

#pragma once

#include "CoreMinimal.h"
#include "Kismet/BlueprintFunctionLibrary.h"
#include "ZFunctions.generated.h"


UCLASS()
class UNREALPYTHONPROJECT_API UZFunctions : public UBlueprintFunctionLibrary
{
GENERATED BODY()

public:
   UFUNCTION(BlueprintCallable)
      static void CalledFromPython(FString InputString);
};
ZFunctions.cpp
//.Fill out your copyright notice in the Description page of Project Settings.

#include "ZFunctions.h"

void UZFunctions::CalledFromPython(FString InputString) {
UE_LOG(LogTemp, Error, TEXT("%s"), *InputString);
}
実行する。(Local Windows Debagger)
Outputlogで実行する
import unreal
for x in sorted(dir(unreal)):
   print(x)
ZFunction が出る
import unreal
for x in sorted(dir(unreal.ZFunctions)):
   print(x)
called_from_python が出てくる。
呼んでみる
unreal.ZFunctions.called_from_python('my test string')